HOW TO DESIGN A PRECISION WELDING FIXTURE TO MAKE BETTER PARTS FASTER
One of the keys to precision fabrication is having a well-designed welding fixture that positions and holds the parts where they need to be while the welding operation takes place. While this seems simple, in practice, it can be much harder to do. In this blog, I go over 6 things that will help you design a better fixture to make better parts.
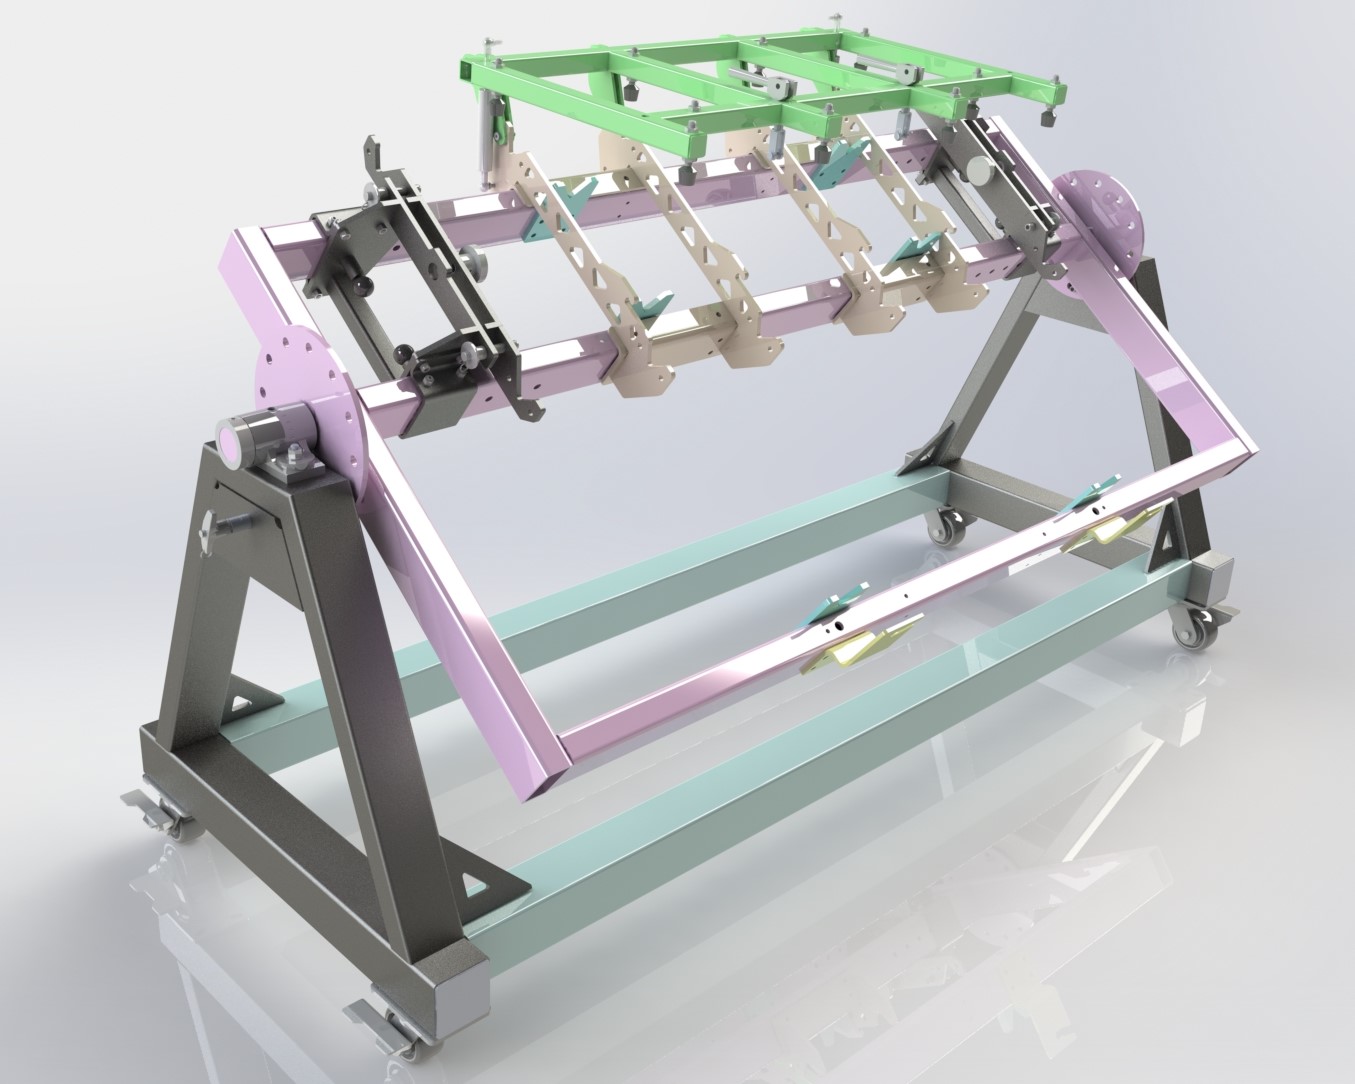
A well designed welding fixture should allow parts to be installed quickly and put the welder in a comfortable position to make quality welds. This example is a precision welding fixture for an industrial rail product.
1) What are you trying to hold with your fixture?
One key consideration that is easy to overlook is holding parts that don’t need to be very precise in an overly tight fixture. While it could be reasonably argued that there is nothing wrong with making parts to a tighter tolerance then the customer asked, you might be making it harder to obtain the tolerance on the features that actually matter. For instance, holding the profile of a bent tube might not need to be held nearly as tight as the face of the machined block it attaches to. By trying to hold the tube profile perfect you could be inducing stress that once the part is pulled out of the fixture, it springs the piece its attached to out of tolerance, ruining your part. You should be reviewing the tolerance on the project and working on holding the high tolerance features first, before assuming everything needs to be perfect. Often, through this process you will find out that certain parts do not need the tolerance that you imposed on them and it will result in a more successful project through reduced labor costs, and less headache.
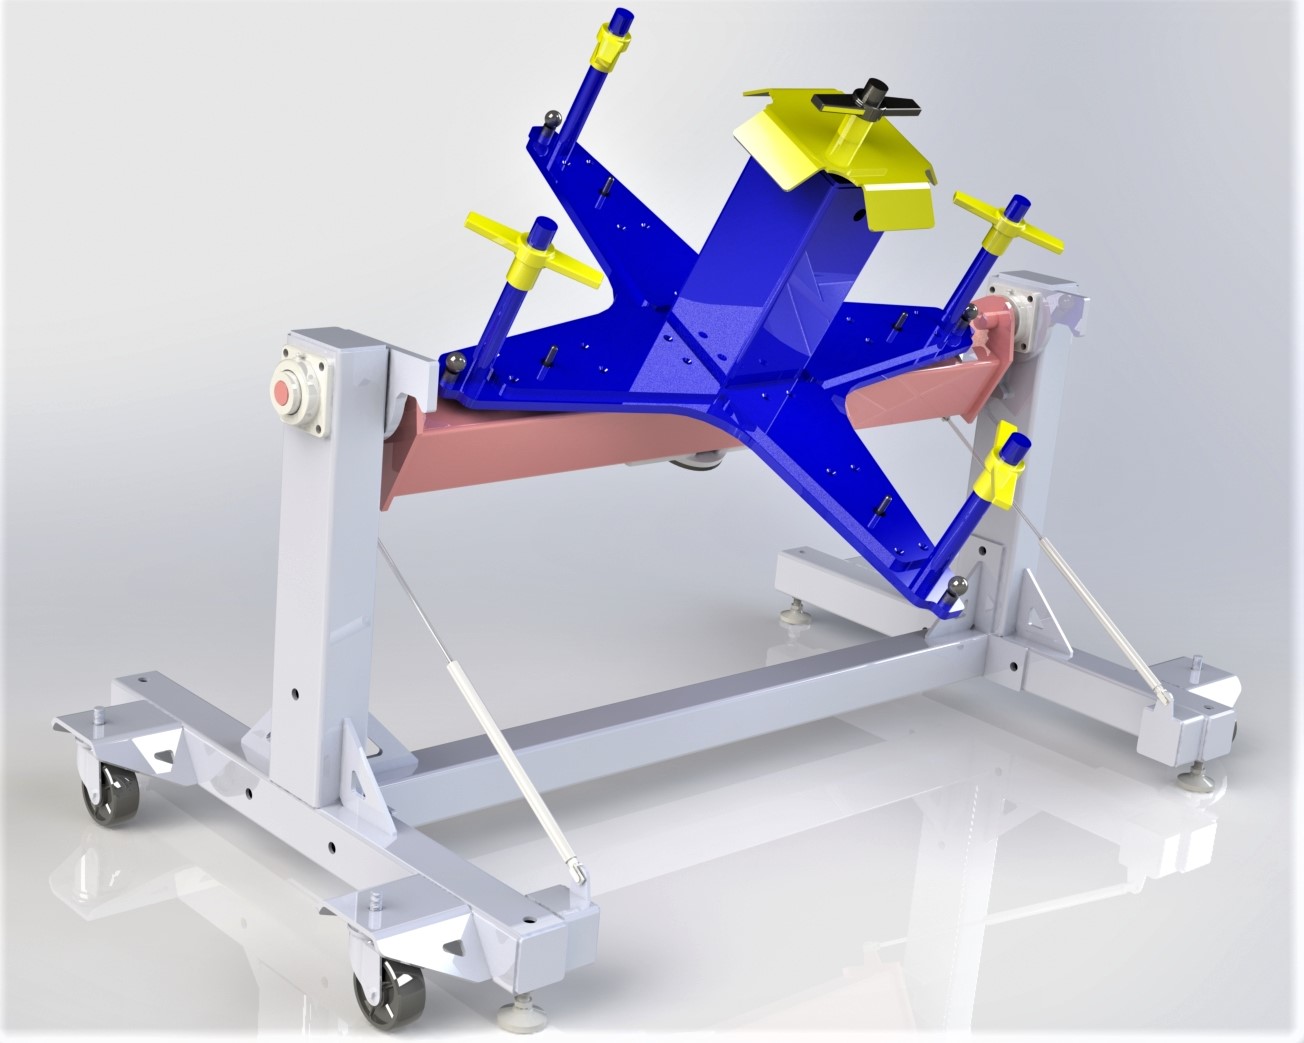
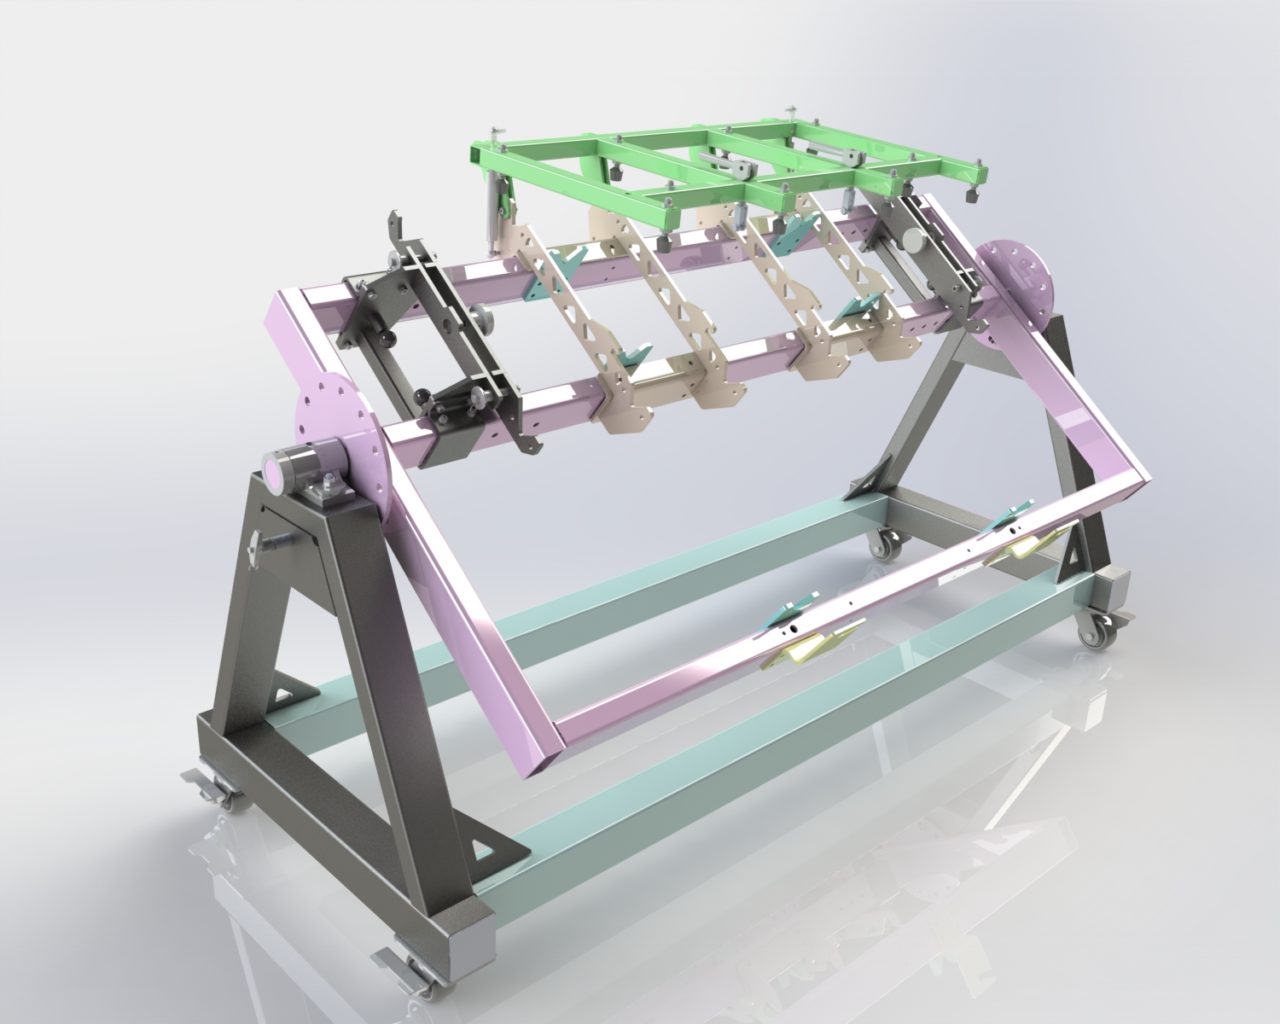
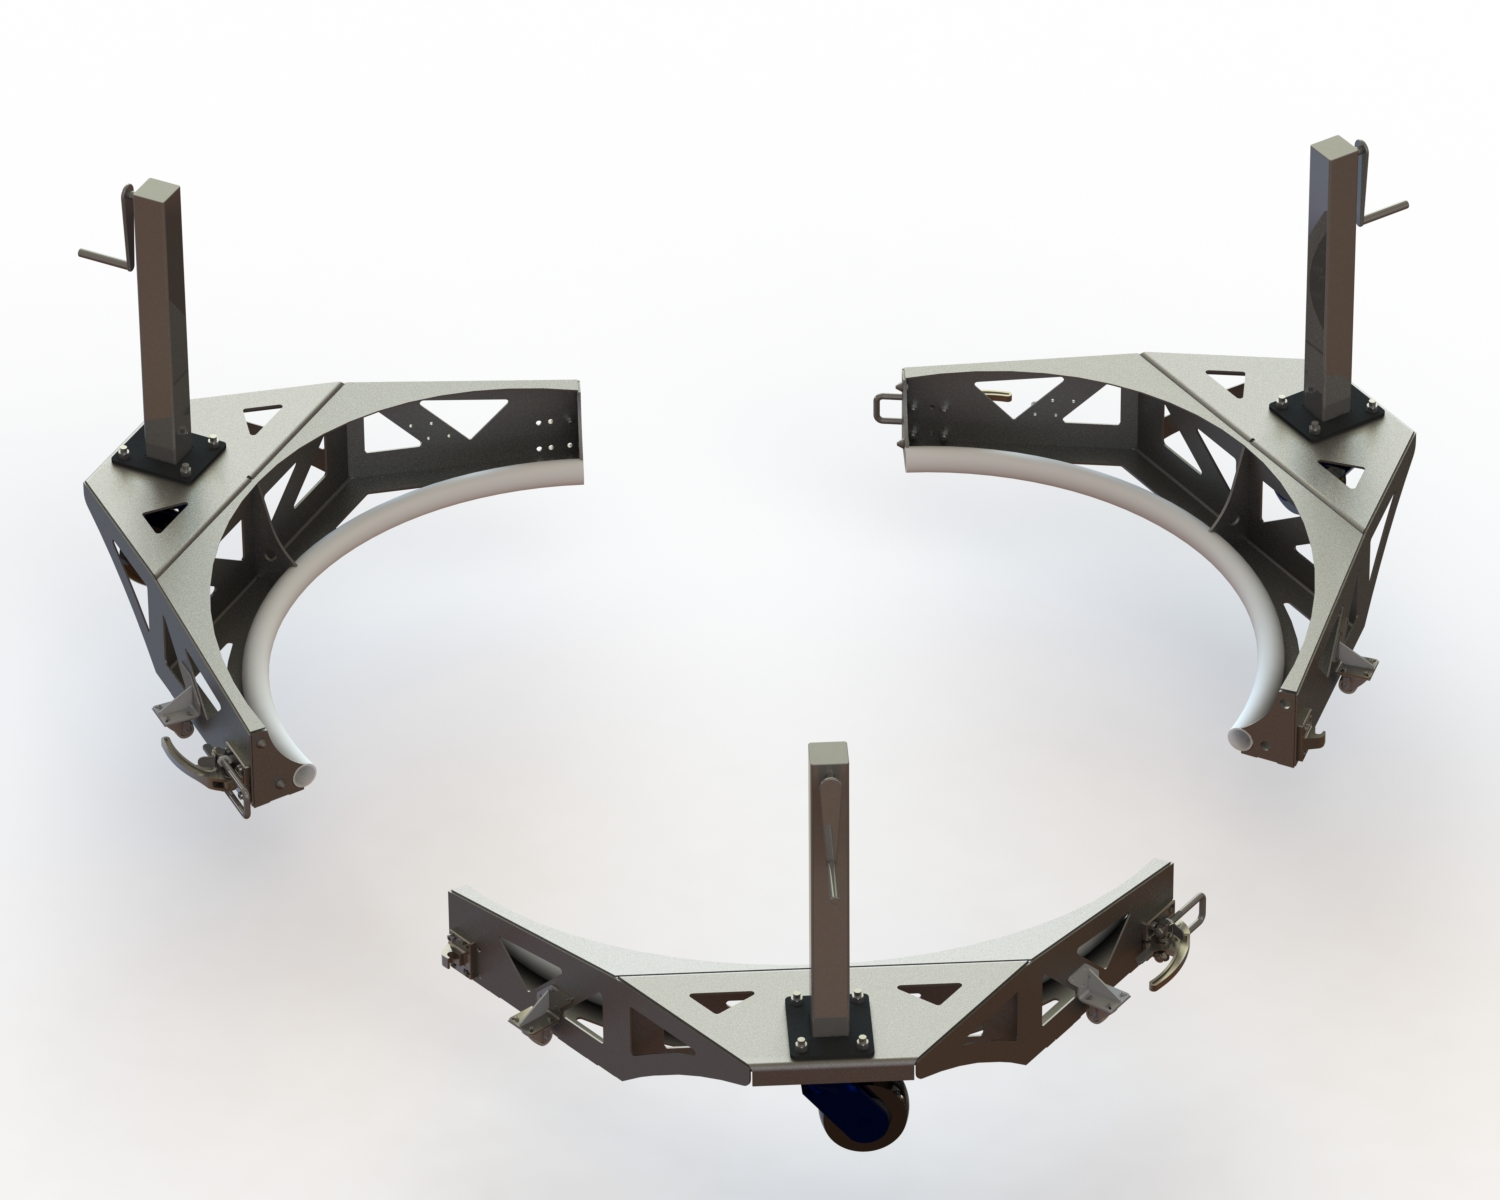
A welding fixture for a large industrial part. This fixture allows the part to spin on two different axis’ so the welder can reduce wasted motion and always weld in the flat position.
2) How easy is it to get the parts out of your welding fixture?
There are those that have, and those that will eventually make a fixture that once the parts are welded they don’t come out without destroying something. While this is an extreme example of a bad weld fixture, some fixtures require so much disassembly and reassembly that you might as well be cutting something apart. While bolts can be useful to make disassembly easy for certain applications, it is much better to use quality clamps like Destaco or other lever action clamps when possible. Bolts take longer to install and remove and have a tendency to have threads get worn and damaged over time. It is a good practice to try and use pins & clamps in place of bolts in most cases to hold a tighter position, and get the parts out quickly. If bolts must be used, then you should use countersunk bolts or shoulder bolts to make sure concentricity of the holes.
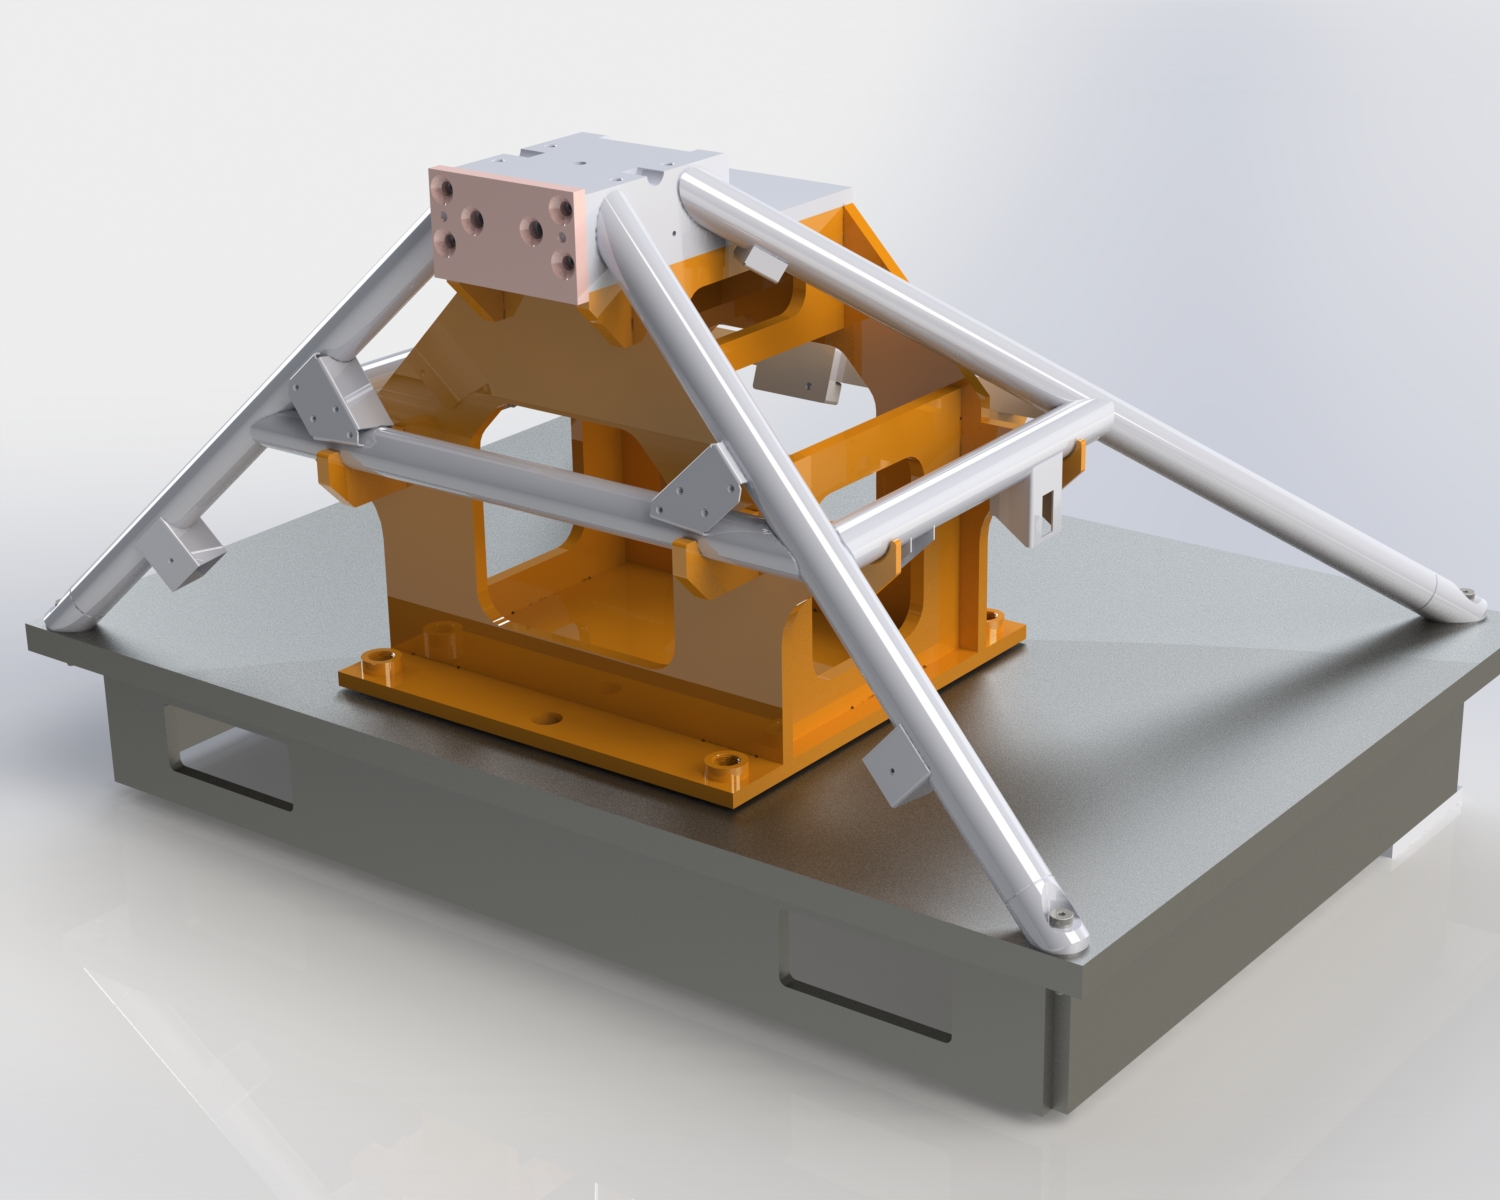
A well designed fixture should allow parts to be installed and removed quickly and easily
3) How easy is it to weld in the fixture?
After you have an idea of how to hold the parts where they will be, and you’ve checked that you can get the parts out, the next thing to review is how easy it will be to weld the parts. This means that you need to check that there is plenty of clearance around the joints to fit a welding torch AND you have a line of sight to see what you are welding. As you do this you might find out that you need to go back and revisit some of your ideas of how you were originally going to hold the parts. Depending on the welding process (MIG, TIG, Robotic, etc) the amount of clearance and line of sight you need will be different, but it’s hard to make quality welds when you can’t see what you are doing so this should be a high priority. Another consideration of how easy it is to weld is the position of the weld operator. You should do whatever is possible within reason to make the welder as comfortable as possible. This means that you might be making a rotating fixture, or placing it on an adjustable height table so that the welder can be in the optimum position as much as possible. They will thank you for designing an easy job for them, and you will thank them for producing quality welds.
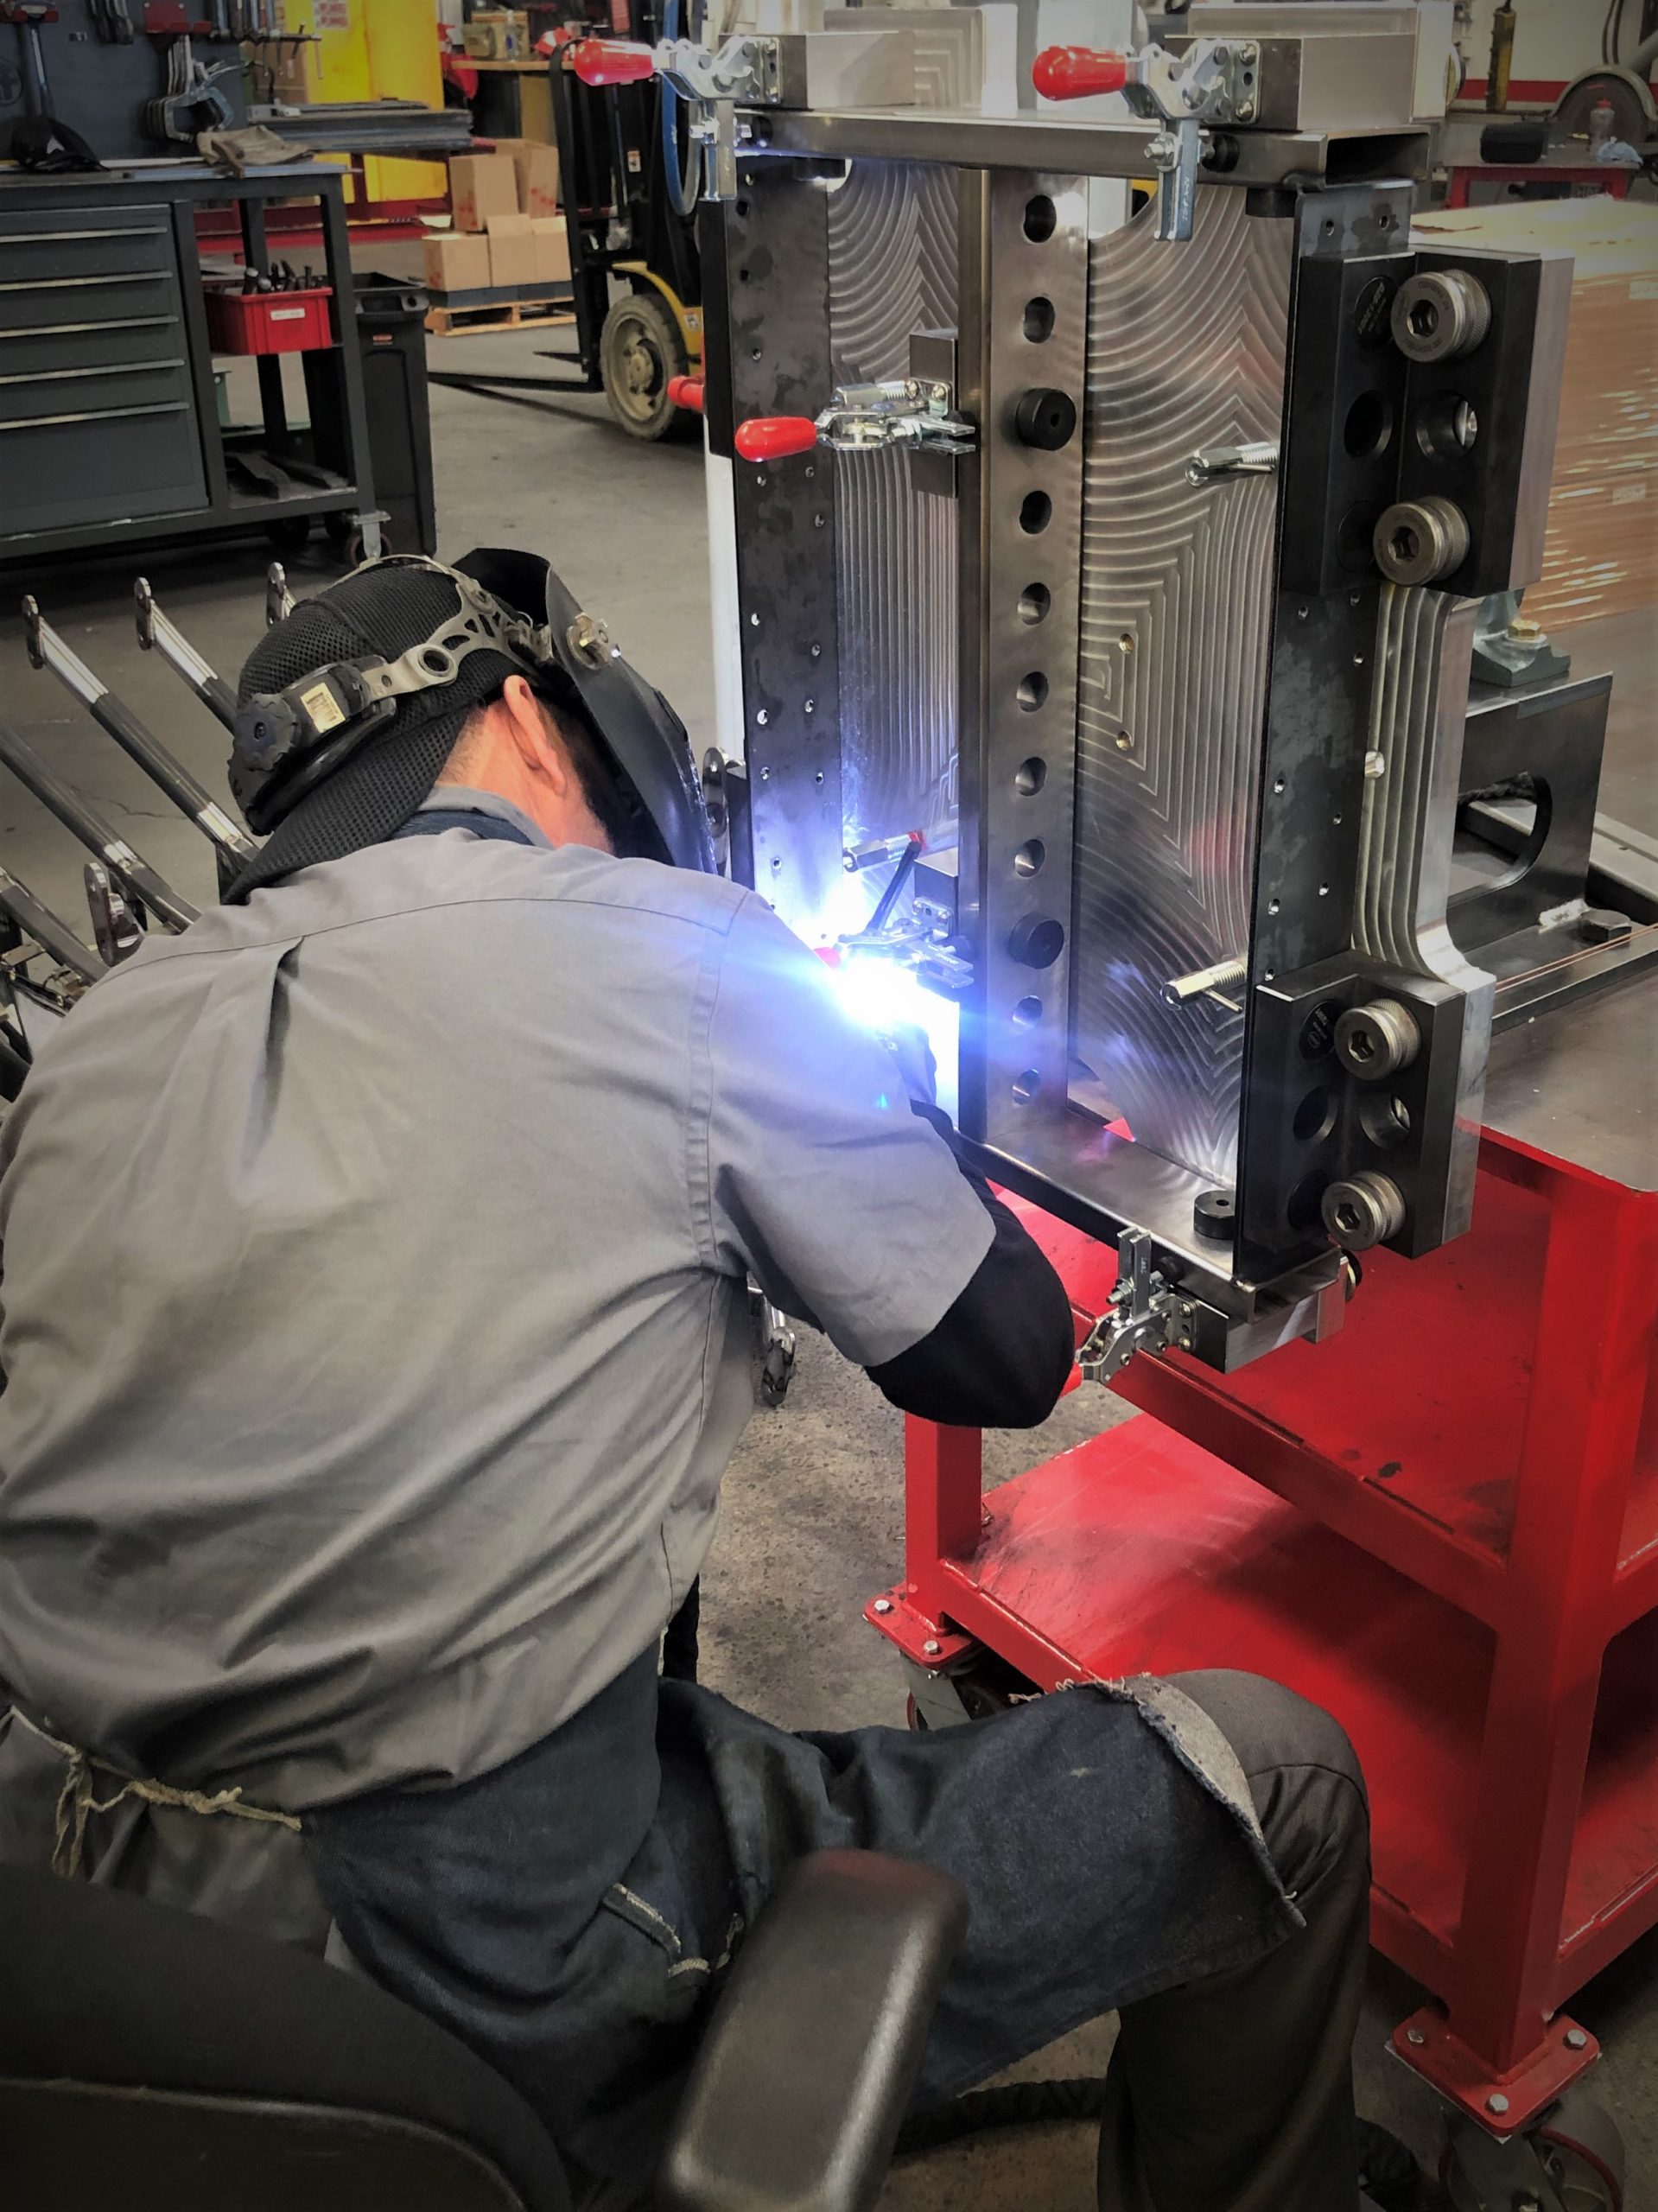
This fixture allows the welder to sit in a chair and spin the part to always weld in the same position. Notice the use of toggle clamps to quickly remove parts after welding.
4) Can you make adjustments to the fixture?
Quality has two aspects: consistency and tolerance. If you chase tolerance you will have a hard time catching it consistently and that’s not good for business. However, if you focus on consistency, getting and staying within tolerance is much easier to not just obtain, but also to maintain. I strongly recommend graphing your QC results so that you can get a visual representation of your consistency as shown on the example below. Hopefully your parts start out within tolerance, but you should plan for ways to adjust in case it doesn’t.
As anyone that has ever welded knows, the parts don’t like to stay where the started due to weld shrinkage. And to a large extent the fixture will help minimize the amount of deformation that you will see during welding. It is for this reason that you should design your fixture to hold the parts exactly where you want them to end up, BUT you should build in a way to adjust, and strive for consistency first. As you can see from the graph below, it took until the 10th unit to get a consistent dimension of these critical features because of small variations in the welding procedure from part to part. When focusing on being consistent, and graphing your results you will see when it is time to make an adjustment to your fixture. If you’ve done it right, it should be any easy fix, not a total replacement. On the project highlighted below, after part 15, we added a shim to our fixture assembly and you can see the 0.5mm change to bring our finished part to the middle of the tolerance. By focusing first on consistency and having a fixture that we could easily adjust allowed us to reduce the chances of having a failed part.

You should focus on consistency before you focus on tolerance. It took this project 10 parts to get consistent. After consistent geometry was obtained a small change in the fixture was made at number 16 to move the geometry closer to the center of the tolerance.
5) Does your fixture need a fixture?
When deciding whether you fixture will be made from laser cut and welded parts or machined components it can be enticing to go with the (usually) cheaper option of welding some plate together. When considering this decision the general rule I like to use is a factor of 10 for my fixture part tolerance relative to my production part. For example: A laser cut feature will have a positional tolerance of +/- .005” depending on the laser.
10 x .005” = .050” (+/- .025”)
This means that if the part you are fixturing has a tolerance of .050” or greater I would be ok using a laser cut feature to locate it. Parts that have tighter tolerance features will require machined or precision ground fixture parts.
If you are using a laser cut and welded fixture than you should be very careful of how you plan on putting it together and how you verify the final geometry. While the use of laser cut tabs and slots can make building your welded fixture quicker, it is very easy to forgot about your tolerance stack-up and end with a fixture that will not give you the results you want. When welding a fixture I strongly recommend using components from Bluco or Siegmund to help facilitate accuracy, and minimize the amount of welding required to reduce weld distortion.
My personal favorite is to incorporate machined parts, welded parts, and modular fixturing components into a fixture at the same time to optimize the quality, while minimizing the time and money spent building your fixturing system.
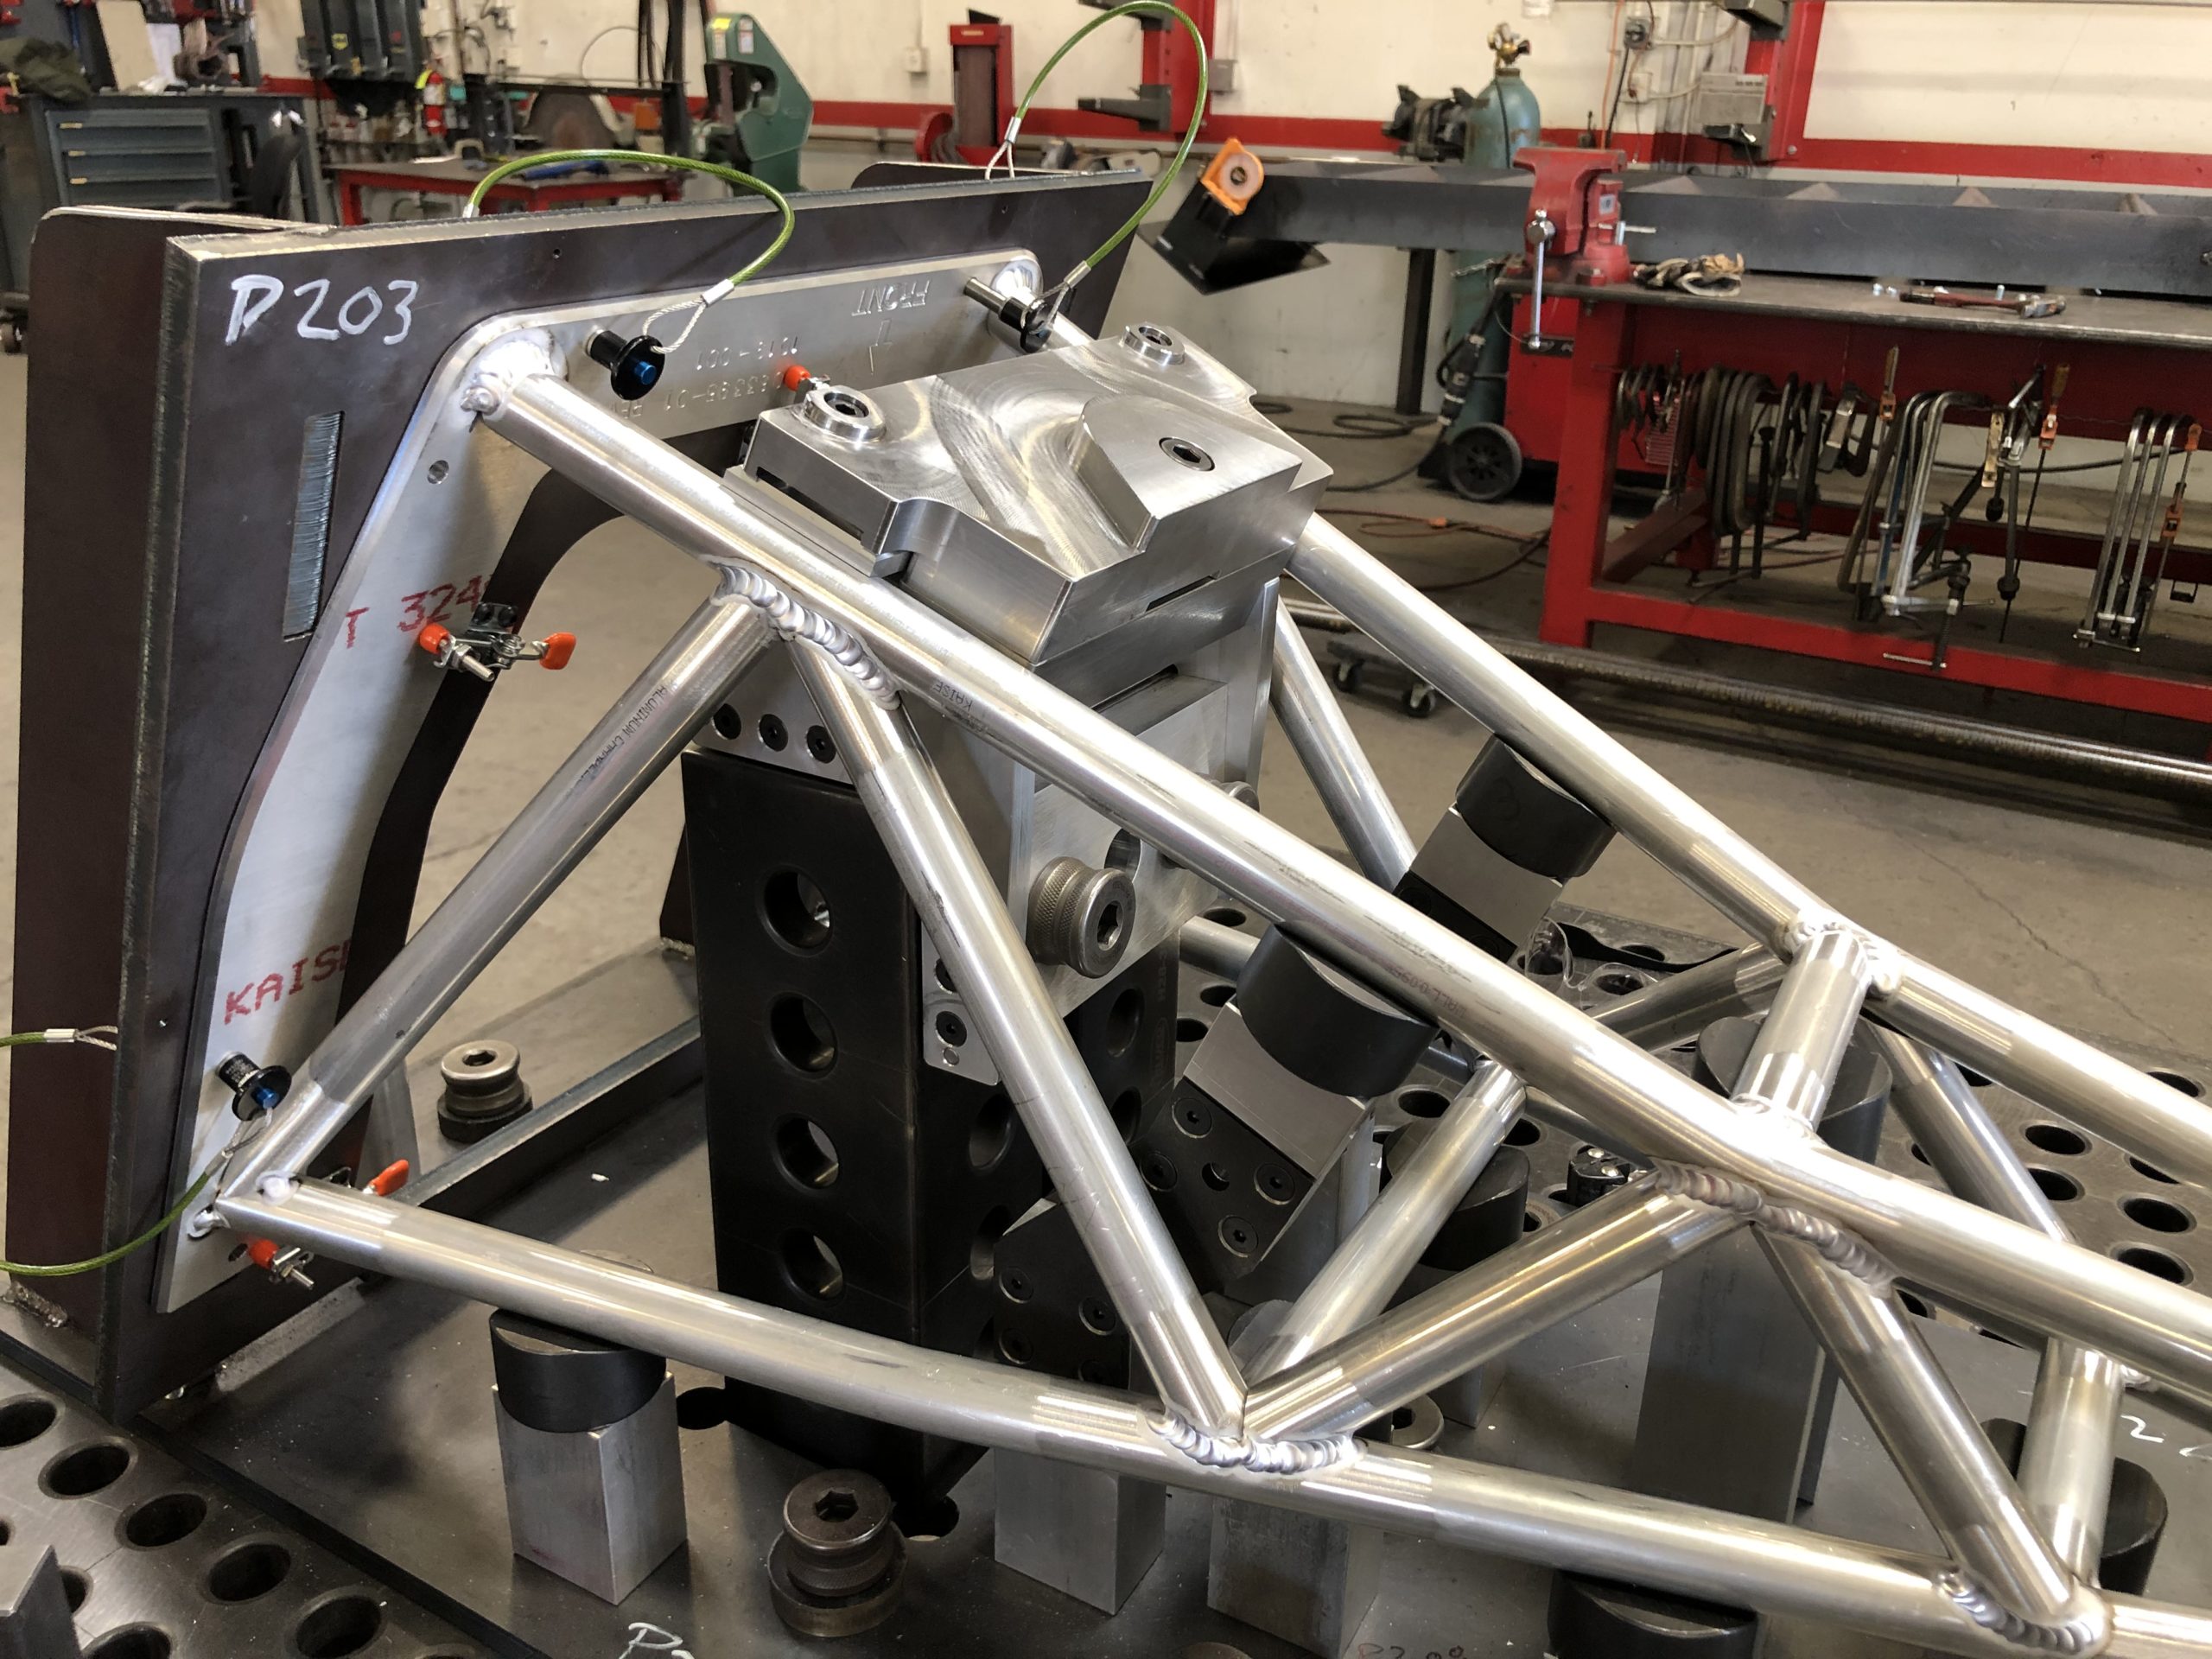
This fixture is made up of a combination of welded, machined, and modular components.
6) Can you use your fixture for QC?
As almost all precision welded components will require some level of dimensional verification why not use the fixture? If you are able to use the fixture as a go-no-go, or as a precision platform from which to take measurements from, then you will be saving time and money. Even if the part will be CMMed or laser scanned after it is done, designing points in the fixture to use as dimensional verification will speed the process and also give the welders an immediate feedback loop on their performance.
Having the fixture also serve as an inspection tool not only helps the welders improve more quickly, but it eliminates the waste associated with moving parts to an inspection or secondary operation that are out of tolerance.
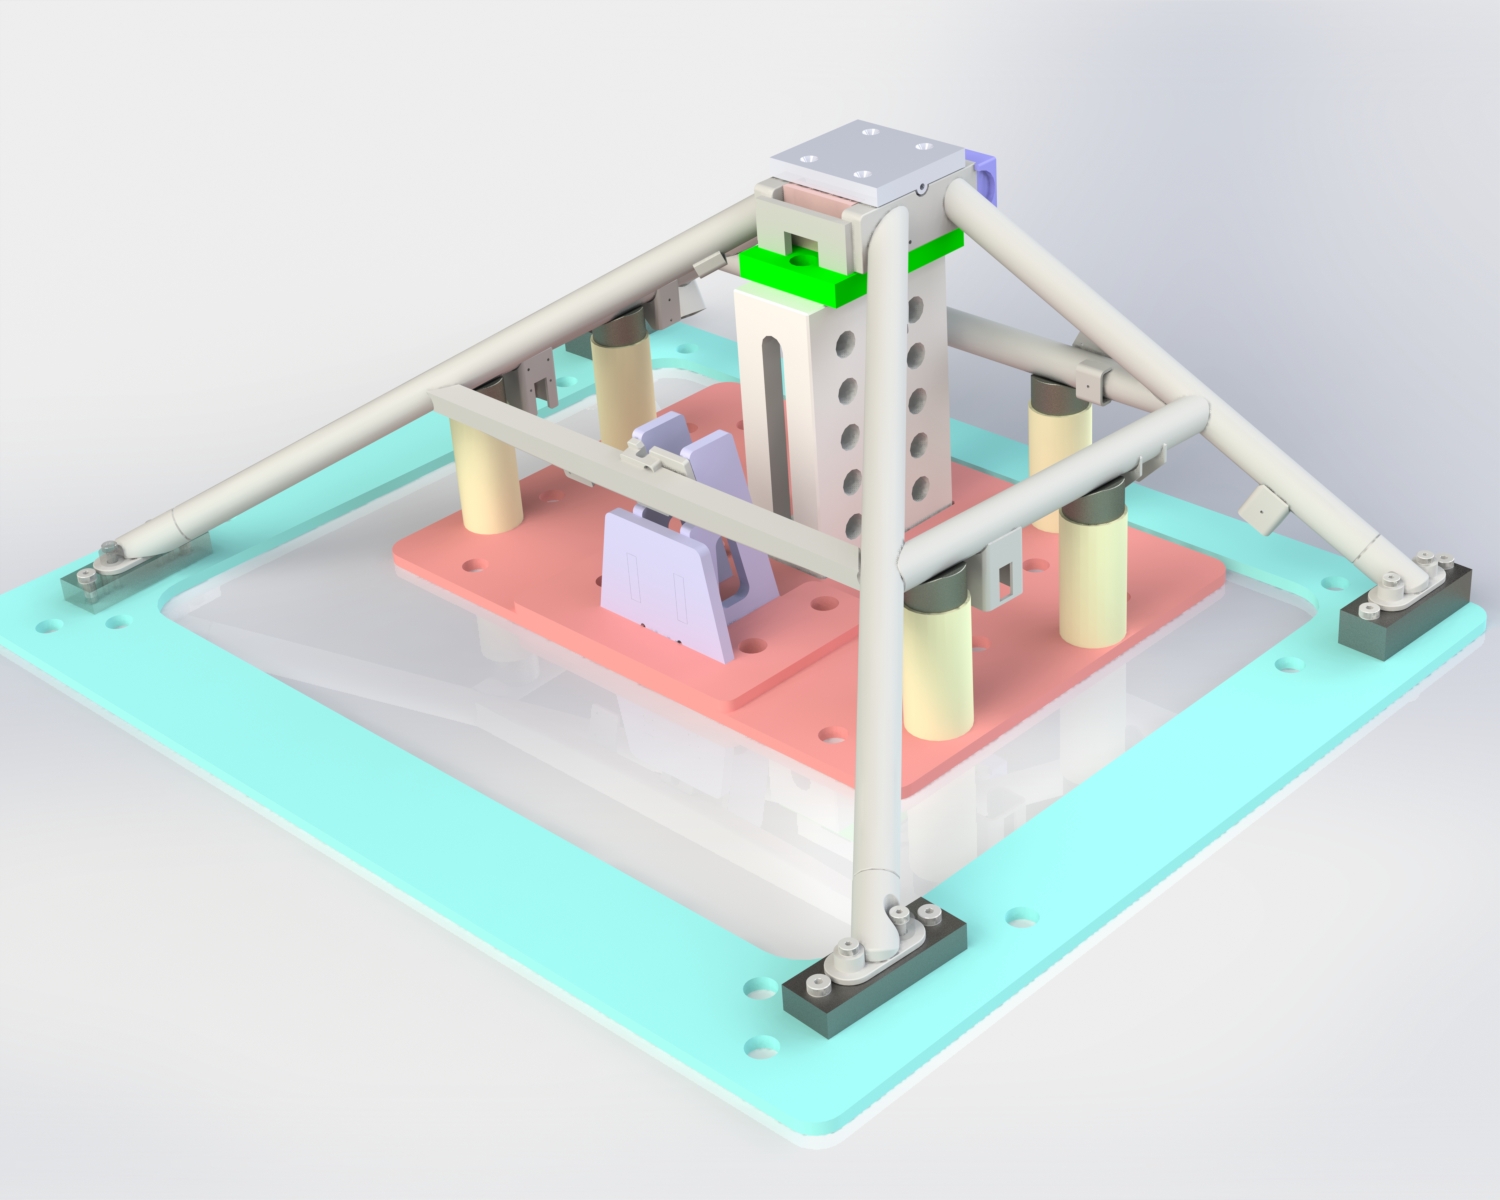
A precision tubular frame can made productively and with consistently high quality with a well designed welding fixture.
While every tooling and fixturing project will have its own unique problems, these tips should get you headed down the right path towards productively making high precision parts.
If you have a project that you need some help designing a fixture for don’t hesitate to give us a call.
